RaspberryPi Picture Frame
Have you ever seen those fancy digital picture frame things? Well I decided to make one myself.

Why a Picture Frame?
For my first venture into programming hardware with software, I set out to build something I’d been wanting for a long time: a digital picture frame. This project felt like the perfect opportunity to gain hands-on experience, both in coding and assembling physical components. For anyone exploring single-board computers, displaying an image on hardware is a major milestone, and for me, it was a personal goal I was eager to achieve.
Hardware
Components:
- Raspberry Pi Zero W 2
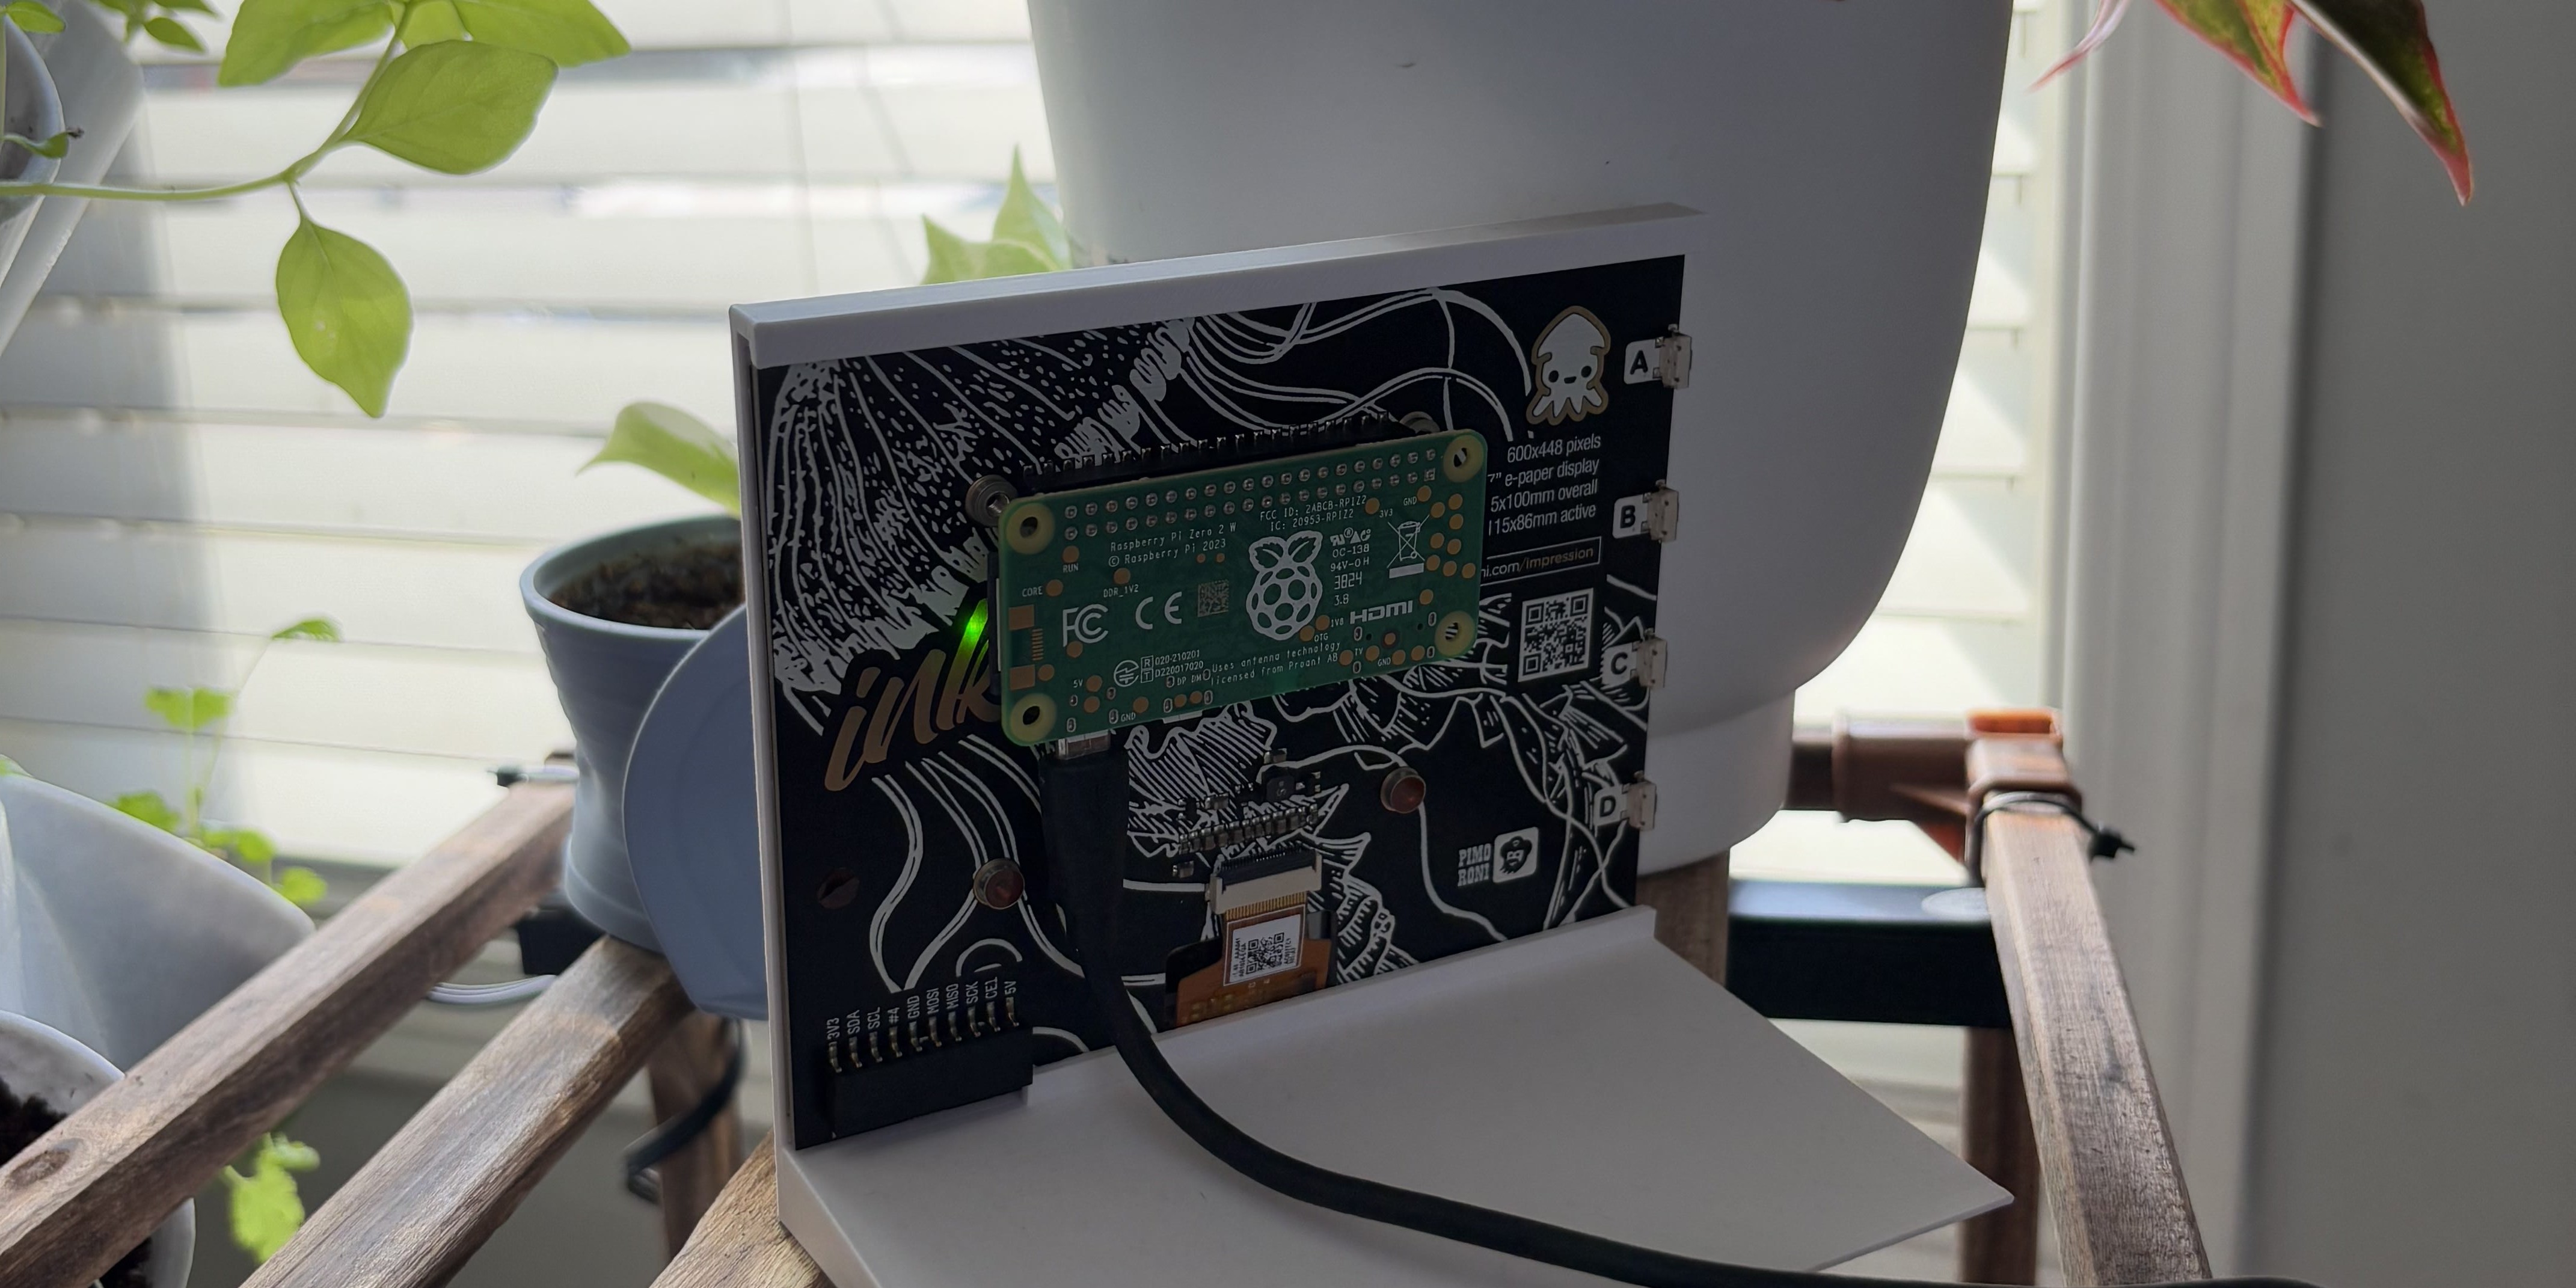
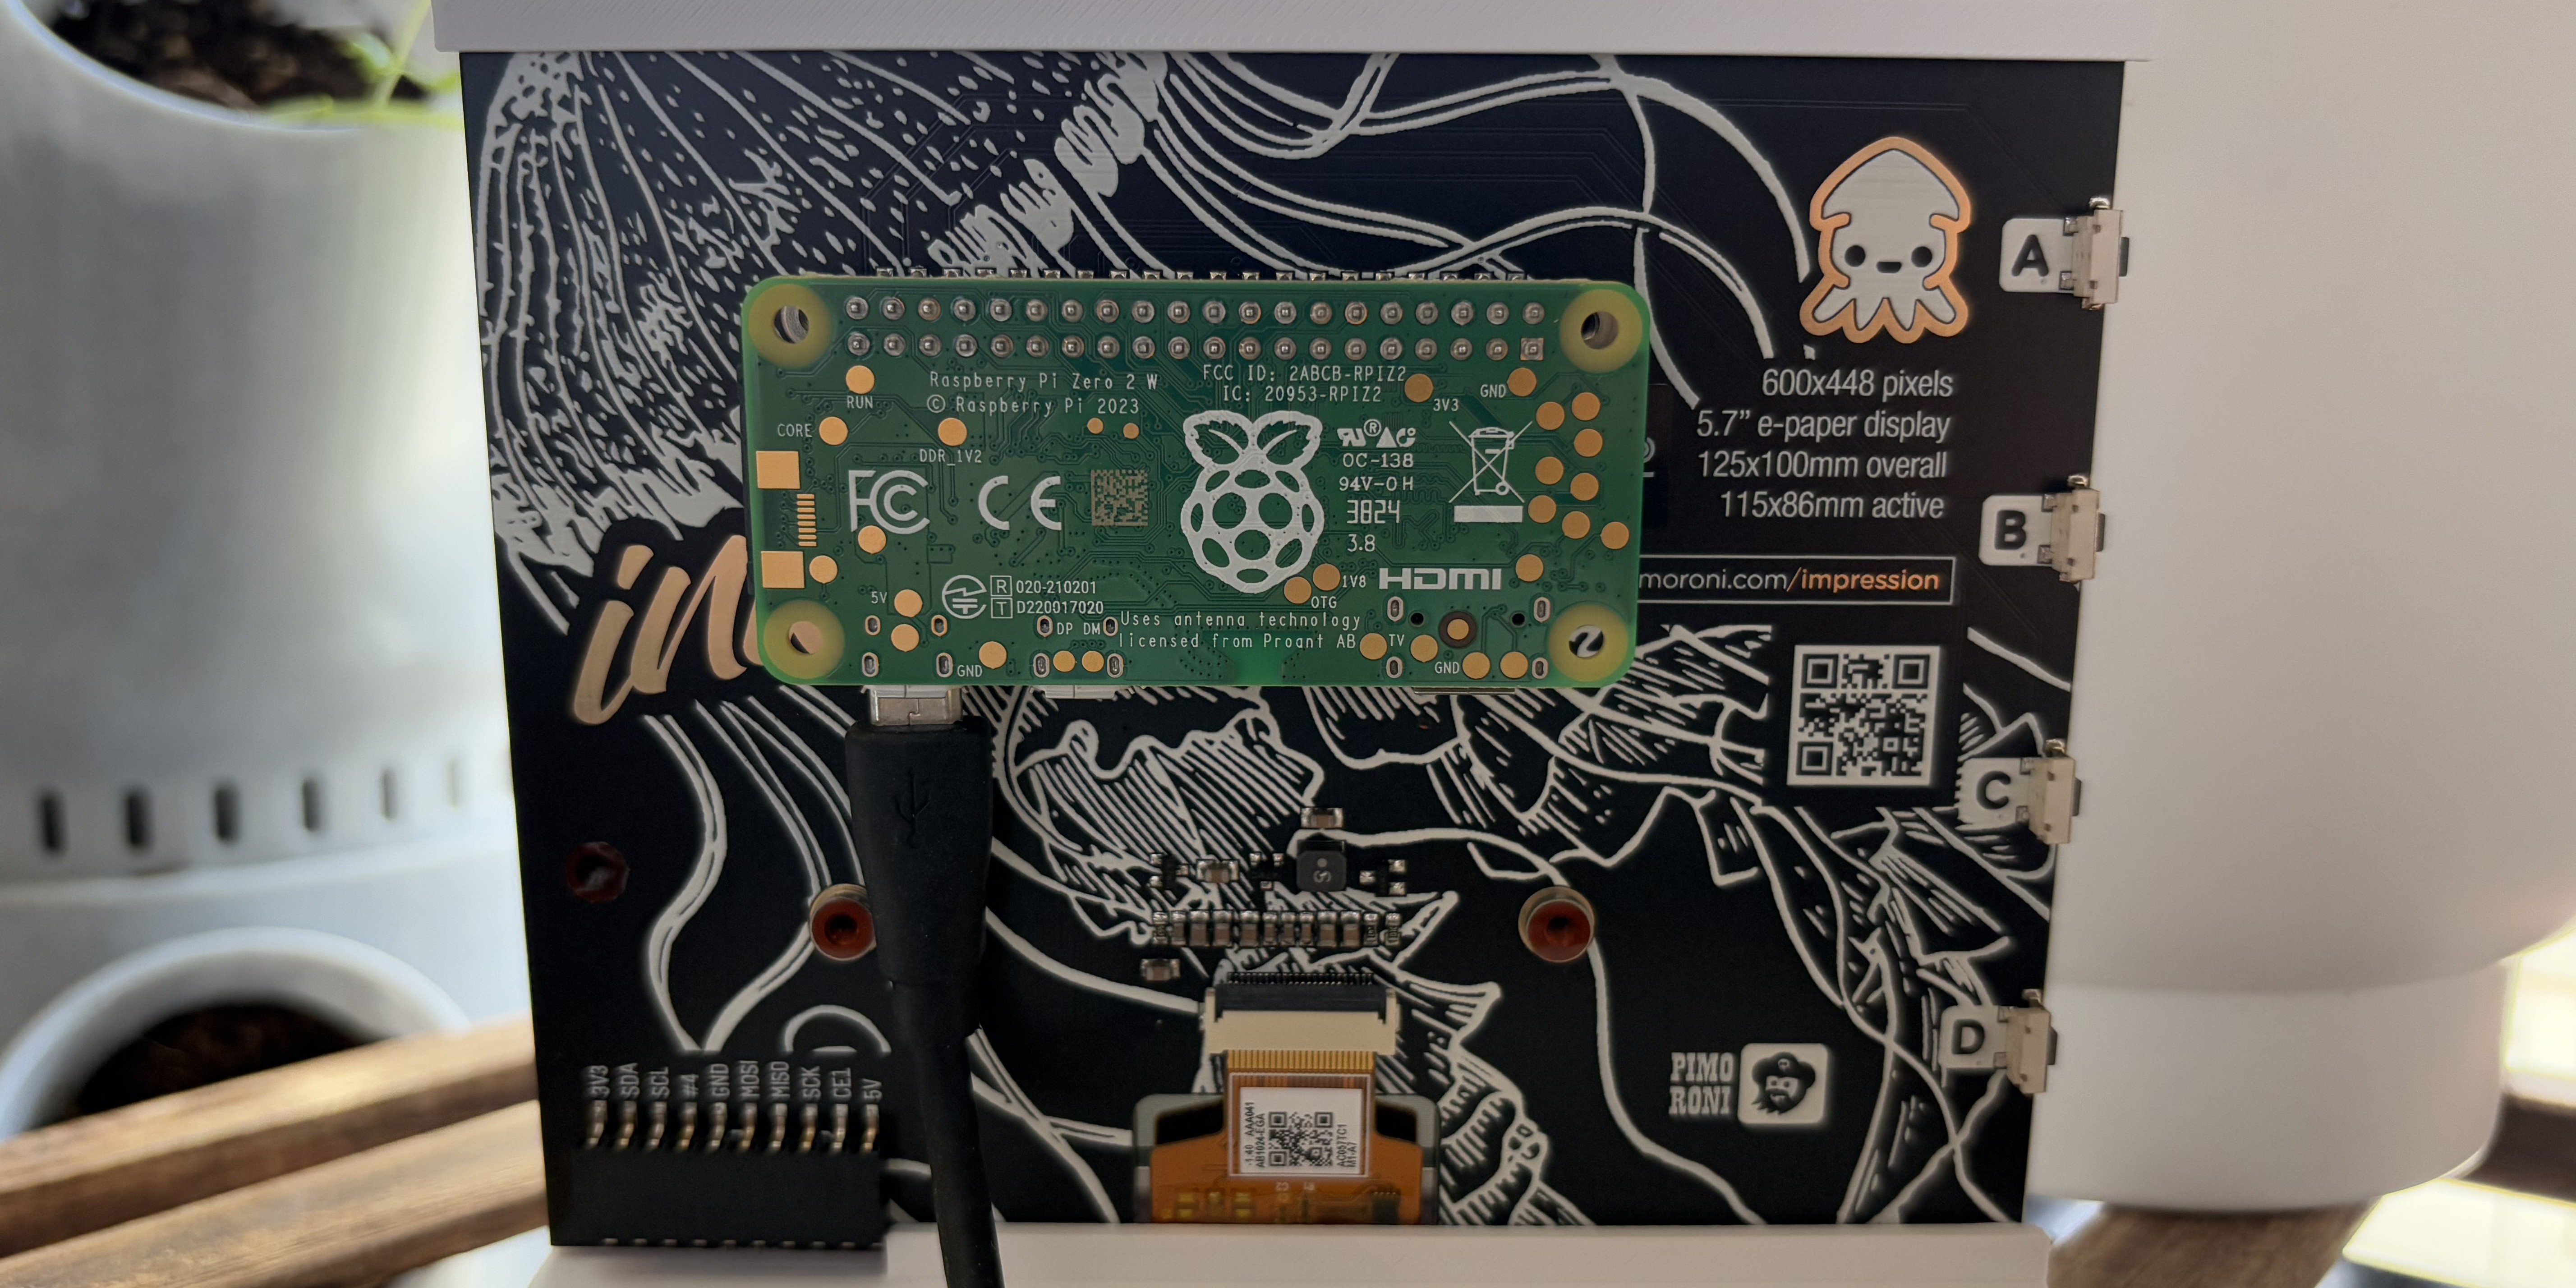
- Pimoroni Inky Impression 5.7"
- 3D Printed Case designed by myself
While researching hardware for the project, I discovered these super cool multicolor e-ink displays made by Pimoroni. Similar to a Kindle but with color, these displays stood out for their simplicity and versatility, they’re plug-and-play with any Raspberry Pi header, which made hardware setup a breeze. One especially unique feature is that they retain the displayed image even when the Pi is powered off—perfect for when I eventually make the device wireless. Assembly was straightforward: I just plugged the screen into the Raspberry Pi, inserted a microSD card loaded with Raspberry Pi OS, and it was ready to go. To house everything, I designed a custom picture frame in CAD with a slot for the screen-and-Pi combo, then 3D printed it from the STL file..
Software
Utilized technologies:
- Python
- Flask
- HTML & CSS
One of the main goals of this project was to make it incredibly user-friendly. I wanted my girlfriend to be able to easily access the Raspberry Pi and upload pictures without needing my help. To make that possible, I decided to build a web interface that anyone on our network could use to add their own photos. I used Flask, a lightweight Python web framework to host a simple HTML-based webpage that allows users to interact with the device. Through the interface, users can upload or delete images from the rotation and even adjust how frequently the pictures change, all without touching the hardware or code.
Click here for this project's GitHub repo.